There are several ways to transfer files to your computer: via Wi-Fi, via a USB cable or via the cloud. Some methods are faster to do, others depend on the quality of your internet or compatible ports on your notebook, for example. So, see below how to easily transfer photos and videos from iPhone to PC.
Transferring via WiFi
During my tests, the process that worked most effectively was transferring via Wi-Fi.
Although cable and cloud methods are widely used, there are already services that fully and easily exploit this resource on the network. See the step-by-step below.
- To transfer photos and videos from iPhone to PC we are going to use DocsTransfer. Go to the service’s website to start the process;

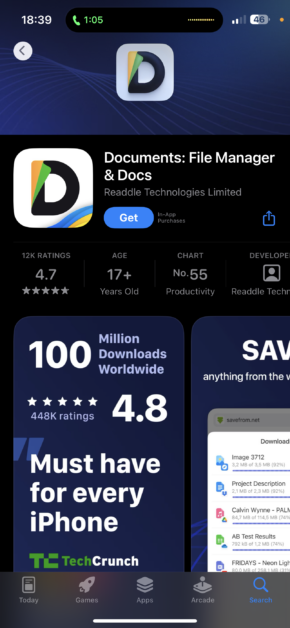
- Next, open the App Store and download the “Documents” application. It will be used to make the connection between the iPhone and the PC;
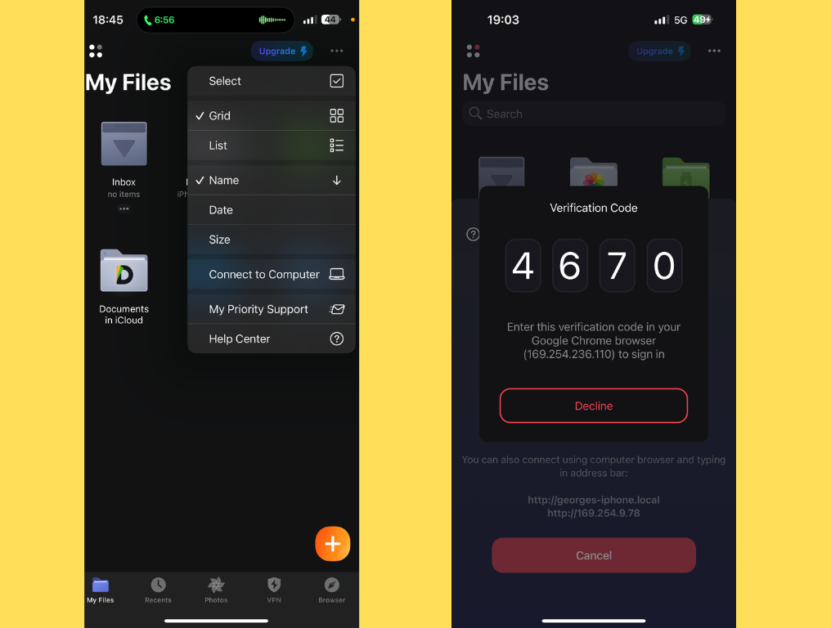
- Once the app is installed, tap the computer icon located in the upper right corner to display an access code — you can also connect via QR Code;
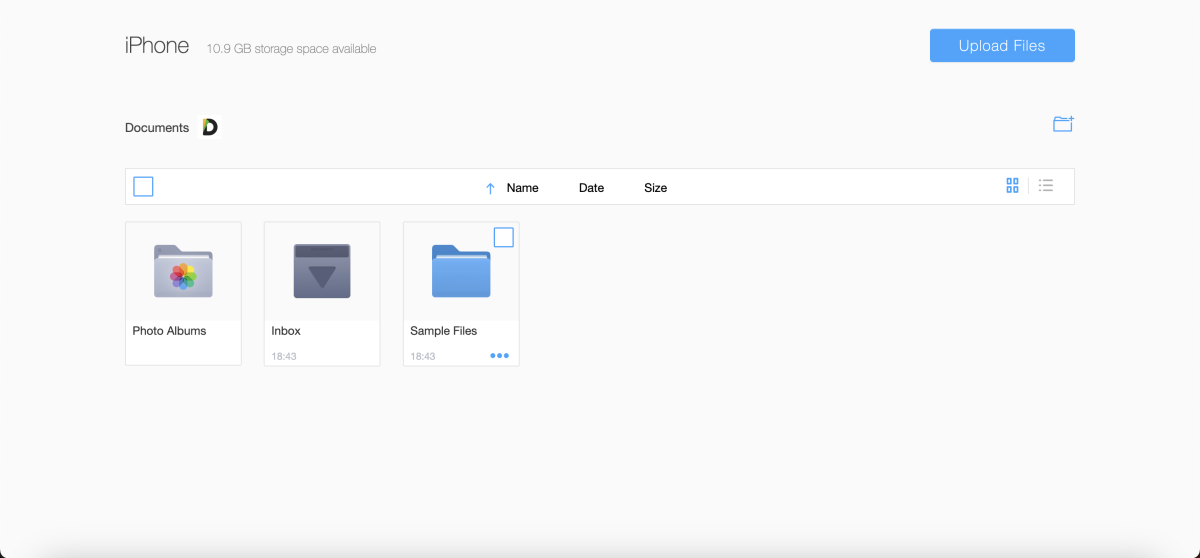
- Back on the website, enter the code displayed on the smartphone to connect. A screen with your device folders should appear;
- Choose the file you want to transfer, select it from the checkbox and click “Download”.
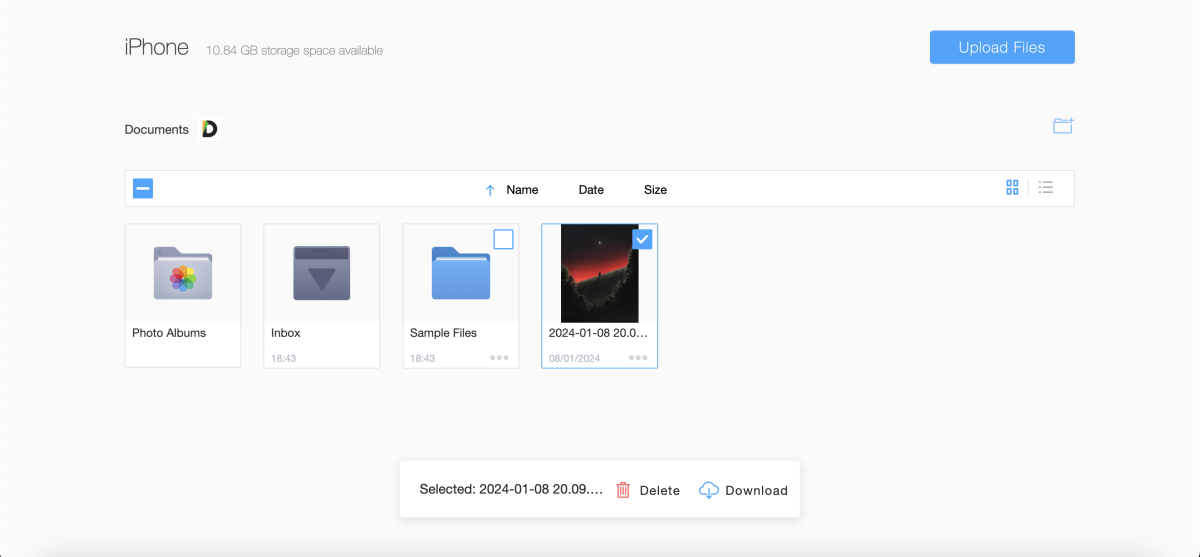
Ready! The file will be saved on your computer and there will be no quality loss in this transfer process.
Although the method is simple and fast, some may prefer something more traditional: via USB cable. So, see below how to do the procedure.
Passing photos and videos via USB cable
To transfer using the USB cable, follow the steps below:
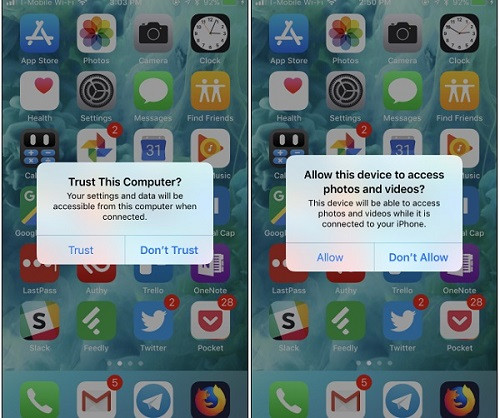
- The app is available for download from the Microsoft Store. Once installed, connect your iPhone to start the process;
- If necessary, authorize the device by tapping “Trust this computer” on your iPhone;
- Open the Photos app in Windows 10 or 11 and click on the “Import” icon, located in the upper right corner;
- Click “ From a connected device ” and choose what you want to transfer;
Ready! Now you know how to transfer photos and videos from iPhone to PC via USB cable. The files should appear in folders like “Pictures” and “Videos” in your computer’s file explorer.
As a last resort, it is also possible to transfer via the cloud. See the topic below.
Using icloud to transfer files
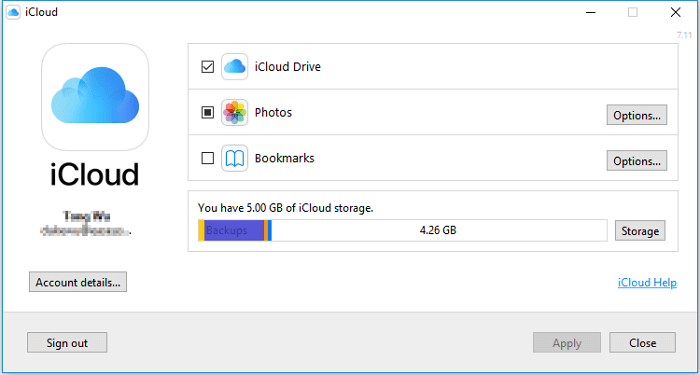
With iCloud, it is also possible to transfer in a few steps from iPhone to computer.
However, it is necessary to remember that the backup function must be activated on your smartphone, otherwise, the files must not appear on the computer.
- First, go to the iCloud website and log in using your Apple account;
- Click on the photos icon to have access to all the files available on your phone shared via the cloud via iCloud;
- Finally, select the iPhone files you want to transfer to your PC and click the download button, which is characterized by the cloud icon with a down arrow;
That’s it! Now just save it to your computer.
If you have a slightly slower connection, your photos may take a long time to back up. In this case, I recommend that you use the Wi-Fi method, as the process tends to be faster.
Also, your laptop may not have ports compatible with the iPhone charging cable — as I did here.
Since my computer only has USB-A inputs, Apple’s switch to USB-C restricted my smartphone access via cable.
The solution? Transfer files via WiFi.
Related:

