It is possible to upgrade a Mac to a later version that it is compatible with, bypassing the limitations imposed by Apple. However, the process can be quite complicated and requires a lot of attention from the user, so that everything works correctly. Follow our tutorial and learn how to update an old Mac.
- How to Install Windows 11 on a Mac Without Spending on Parallels
- How to transfer files from Android to macOS via USB
How to update old Mac
Always back up your data before starting.
The installation methods for macOS Big Sur and Catalina are quite different from each other. Check each of them:
macOS Big Sur Beta
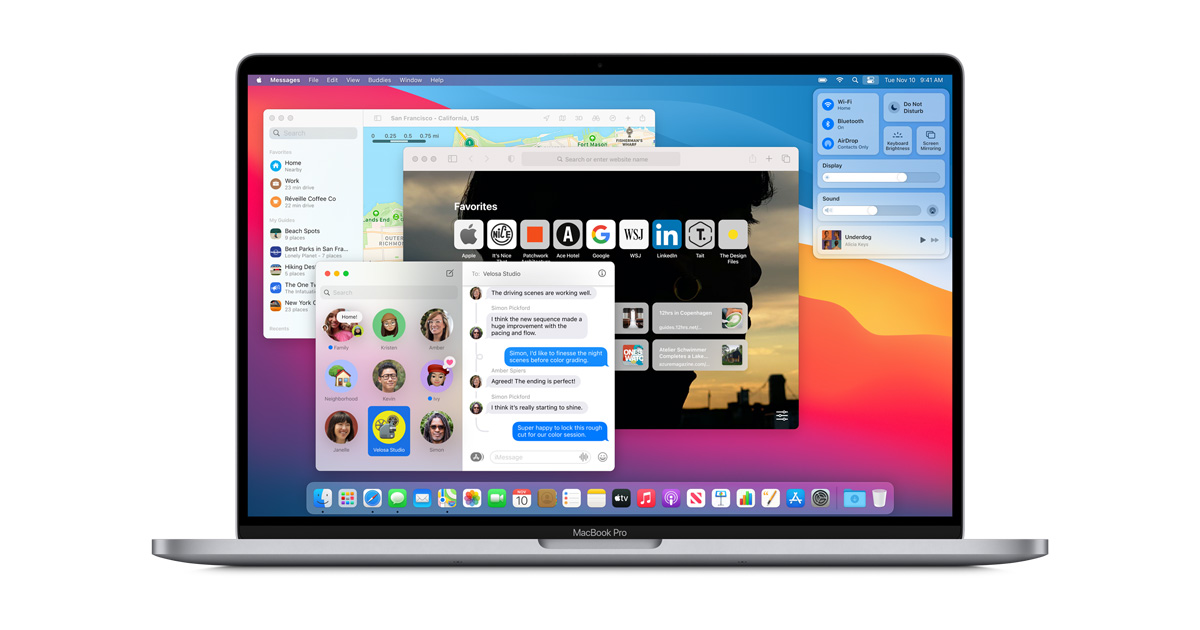
The macOS Big Sur procedure is quite complex and requires a lot of attention, mainly because it is still in a beta version.
You will need:
- The old Mac where macOS Big Sur will be installed, updated to the latest version of Catalina;
- A flash drive with at least 16 GB of space;
- Another Mac, this one compatible with macOS Big Sur (required to format the flash drive);
- Patch files needed to install the update.
On a Mac that supports macOS Big Sur, do the following:
- Click on Apple Menu, “System Preferences”, “Software Update” and download the macOS Big Sur installer;
- When the installer runs, close it;
- Access the patch website, click the “Code” button, “Download ZIP” and download the patches;
- Unzip the .zip file and open the folder with the files;
- Open another Finder window and click on “Applications”;
- Right-click on “MacOS Big Sur Beta Installation” and then on “Show Package Contents”;
- Abra a pasta “Contents”, “Resources”;
- Open a Terminal and type “sudo” (without quotes) and press the Space bar (do not press “Enter”);
- Drag the “createinstallmedia” file to the terminal, type “–volume” (without quotes) and press the Space bar;
- Drag the pendrive icon to the Terminal and press “Enter”;
- Enter the user password and press “y” to confirm the formatting;
- After formatting, type “sudo” again (without quotes) and press the Space key;
- Drag the file “micropatcher.sh” and the pendrive icon to the Terminal, in that order, and press “Enter”;
- After the process, type “sudo” again (without quotes) and press the space key;
- Drag the “install-setvars.sh” file and the flash drive icon to the Terminal, in that order, and press “Enter”.
On the old Mac where Big Sur will be installed, do the following:
- Shut down the Mac, plug in the USB stick and turn it on, holding the “Option” key during boot. On a non-Apple keyboard, hold the “Alt” key;
- The internal HD drives, the macOS installation drive and the “EFI boot” drive will appear, the last two referring to the USB stick. If the drives do not appear, unplug the flash drive and plug it in again;
- Select “EFI boot” and press “Enter”, the Mac will shut down;
- Turn it back on again by holding “Option”, select “Install macOS Big Sur Beta” and press “Enter”;
- On the installation screen, select “Disk Utility” and click “Continue”;
- Click “View”, “Show All Devices”;
- Click on the disk drive where the system will be installed, then on “Erase”;
- Enter the name of the drive, select “ APFS ”, and “GUID Partition Map” and click the “Erase” button;
- Close Disk Utility and open Terminal;
- Type the command “/Volumes/Image\ Volume/insert-hax.sh –seal” (without quotes) and press “Enter”;
- Close the Terminal and click “Installing macOS Big Sur Beta”.
At the end of the installation, the Wi-Fi will probably not be working. To fix this, do the following:
- Hit “Command + Q” (on a non-Apple keyboard, “Win + Q” key) and shut down Mac
- Restart it by holding the “Option” key, select “Install macOS Big Sur Beta” and press “Enter”;
- Open Terminal and type the command “/Volumes/Image\Volume/patch-kexts.sh /Volumes/[macOS disk drive name]” (without quotes) and type “Enter”. If the drive has a space in the name, press the “Tab” key before the first space and the tool will complete the name;
- At the end of the process, restart macOS.
Important: By default, the tool installs patches for Macs manufactured in 2012. If your computer is from 2010 or 2011, type “–2010” or “–2011” (without quotes) between “patch-kexts.sh” and “/Volumes /[unit name]”.
After these procedures, macOS Big Sur will work on an old Mac with Wi-Fi enabled.
macOS Catalina
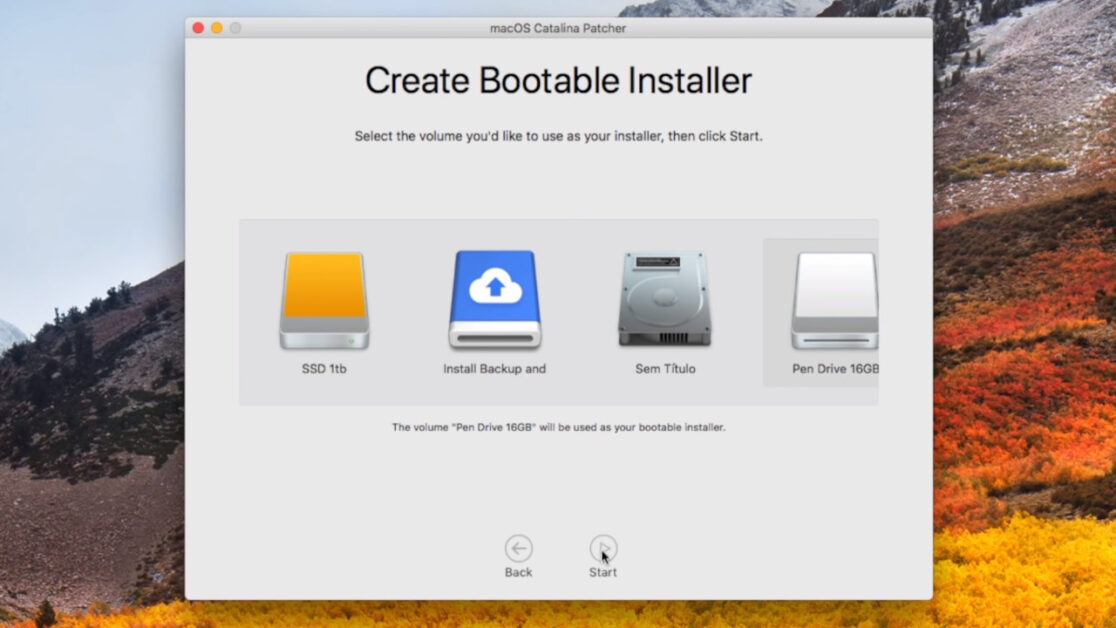
For computers that have stopped at macOS Mojave, there is a much simpler installation procedure than Big Sur, which does not require a compatible computer. However, you will still need a flash drive of at least 16 GB.
- Go to dosdude1.com and download Catalina Patcher;
- Open the program and click “Continue”;
- Click on “Download a Copy” and the program will download the macOS Catalina image;
- At the end of the download, connect the flash drive and click on “Create a bootable installer”;

- After creating the Pendrive, restart the Mac by holding the “Option” key;
- Select the flash drive and press “Enter”;
- Click on “Reinstall macOS” and wait until the end of the process;
- Restart macOS again by holding the “Option” key and select the USB stick;
- Click on “macOS Post Install” and wait for the necessary patches to install;
- At the end of the process, click on “Force Cache Rebuild”;
- Restart Mac.
Once this is done, the old Mac will be running macOS Catalina.


