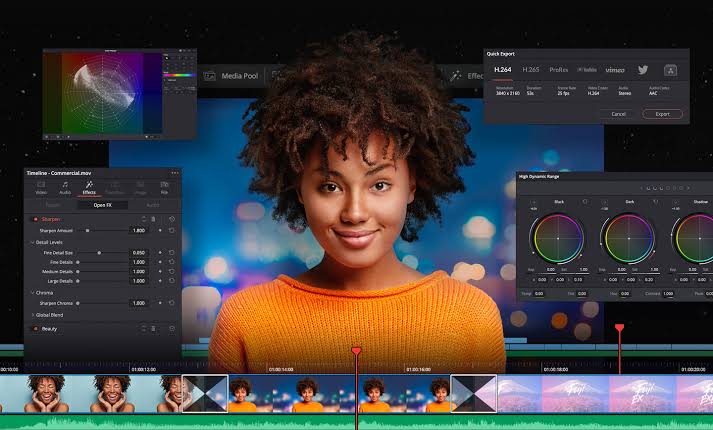
It originated as software for colour correction in audiovisual products. See below, how to use DaVinci Resolve and focus all post-production needs on a single tool. In addition to colour correction functions, cuts in raw material, final editing, mergers and effects and export are present in the application solutions.
- The Best Gaming Video Editing Tools For Beginners
- How to put subtitles in a video by CapCut
- How to Fix DaVinci Resolve Media Offline Issue
What is Davinci Resolve?
It is an editing software that has stood out worldwide for integrating :
- Video edition.
- Colour correction of the video clip.
- Ability to add visual effects.
- Add motion graphics.
- Audio post-production.
All of this can be done in Davinci Resolve through a modern, intuitive and dynamic interface that allows users to quickly become familiar with it; while, professionals who have experience using Davinci Resolve and who have downloaded it in its paid version, can get more out of this software.
What is the main advantage of Davinci Resolve? To make it super clear, the fame of this tool lies in the fact that it enables agility in the editing process and guarantees the quality of the video clip you are editing. This is possible because in Davinci Resolve you do not need other applications to edit colour or do audio post-production, which is why the images will maintain their quality.
In other words, Davinci Resolve is the closest thing to having your own post-production studio, all in one app. Furthermore, by downloading Davinci Resolve now and following our 10 steps, you will surely gain knowledge about the proper use of tools used by Hollywood professionals.
Where did DaVinci come from?
The origin of the DaVinci Resolve application came from the company Blackmagic Design, the company has grown rapidly, gaining prominence, trying to become one of the world’s largest innovators and manufacturers of creative video technologies.
With extensive experience in high-quality television, film and powders, the company is focused on changing the industry, with solutions that are simple but of great capacity for professionals.
What’s DaVinci Resolve for?
The goal of DaVinci Resolve is to be the market solution combining professional editing, colour correction, visual effects, motion graphics and sound post-production in the same software tool.
The interface is modern, sophisticated, quick to learn and easy for novice users, but powerful for professionals in the field. DaVinci Resolve lets you work fast, even at a higher quality, because you don’t have to learn and gather multiple apps or switch to different tasks.
In short, one can work with the images in the original quality of the camera throughout the process. It’s like having your own post-production studio in a single app.
Functions present in DaVinci Resolve
Editing
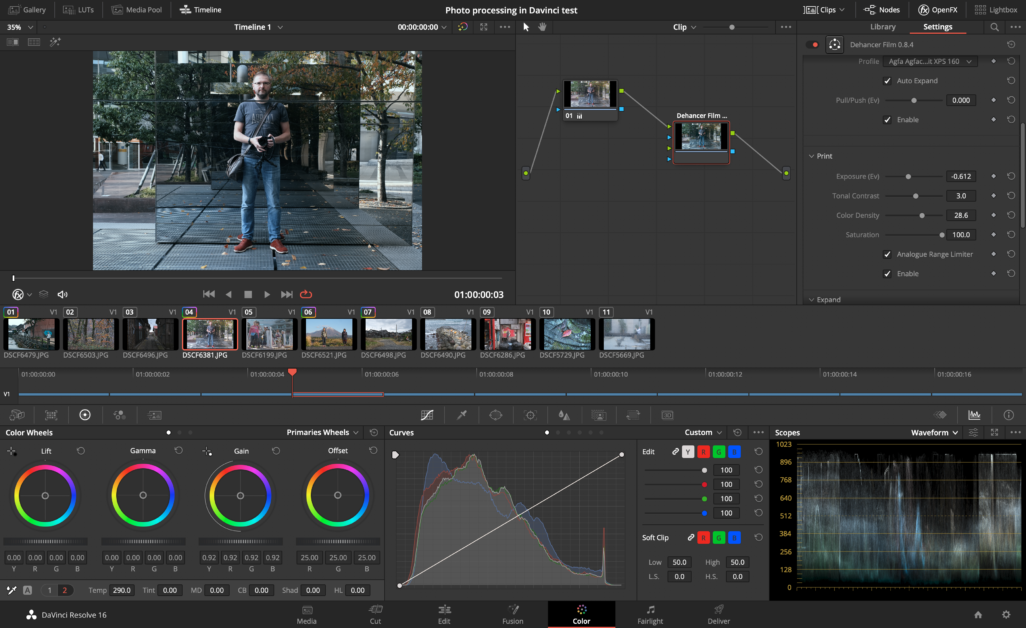
It is a very advanced professional nonlinear editor. The familiar trail layout, dual-monitoring design, and traditional workflow make learning easier for new users while making it powerful for professional editors accustomed to other software.
It features drag-and-drop assembly, customizable keyboard shortcuts to work faster, and a library with hundreds of titles, transitions, and effects to integrate and animate. Other points are the tools of media management, organization and complete timelines.
Cut
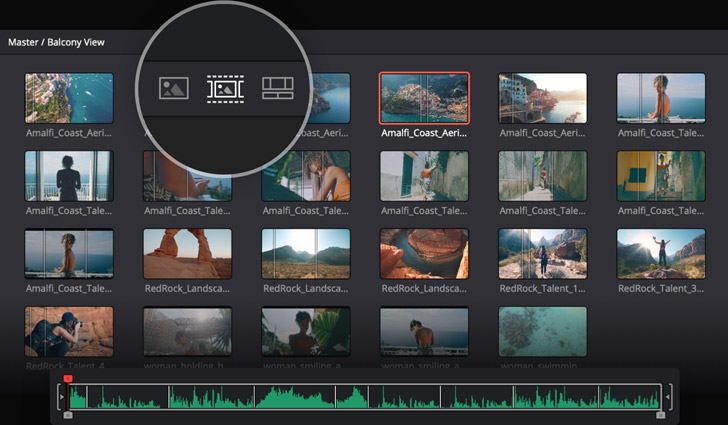
For faster jobs that require less detail, those who worked with audiovisuals in the old years can compare the tool with the old Sony BVE editing machines — “machine to machine”.
The Hack page is ideal for projects with tight deadlines that should be delivered quickly. She’s also great for documentary work. The cuts page has a simplified and easy-to-understand interface for new users with a focus on agility.
Features like source tape, dual timelines, quick-view, and smart editing tools help you work faster.
Colour
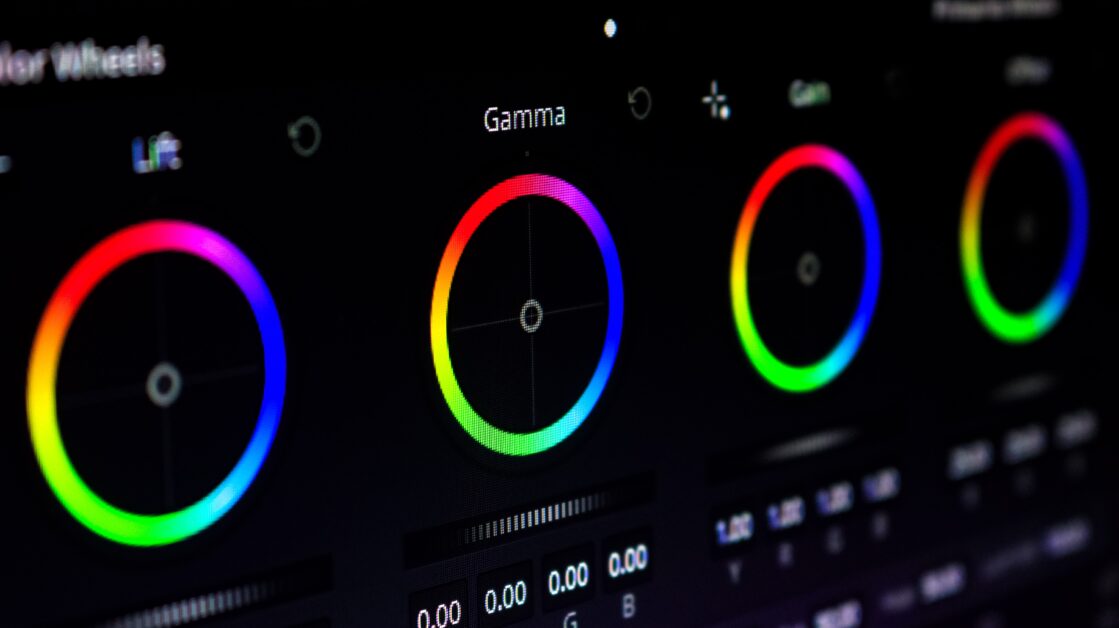
The main product is also present, colour correction. DaVinci Resolve’s Color page is the most used colour corrector in Hollywood and has been colouring and finishing more feature films and television shows than other systems.
The version is also uncomplicated with new features designed to make it easier for new users to get results while learning the most advanced tools.
Fusion
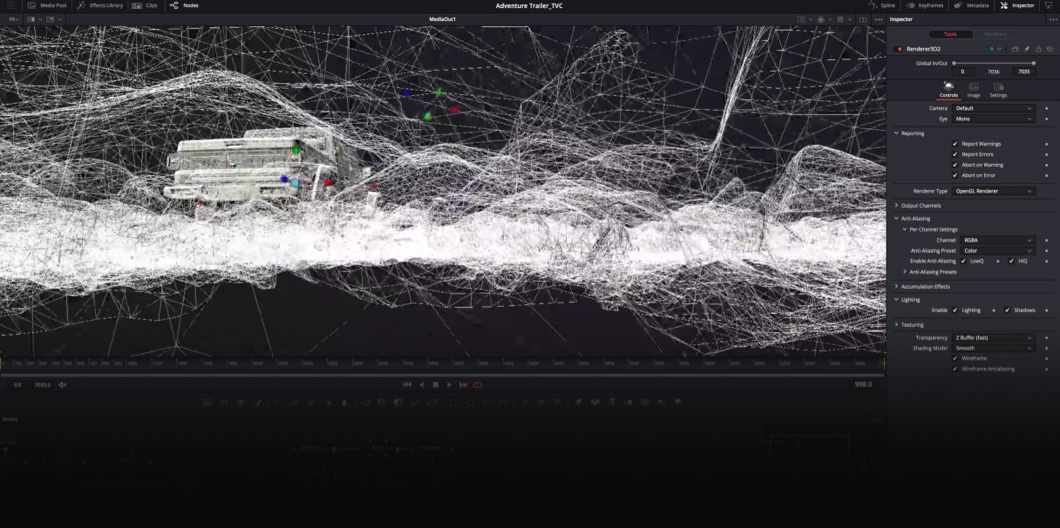
Many 2D and 3D tools for visual effects and motion graphics, plus advanced curve animation editors and keyframes that let you create natural and realistic animations.
Fusion includes everything from point tracking, gliding and a 3D camera to a rotoscope and a scan tool to create photorealistic compounds, animated titles, 3D particle systems, and other functions.
Fairlight
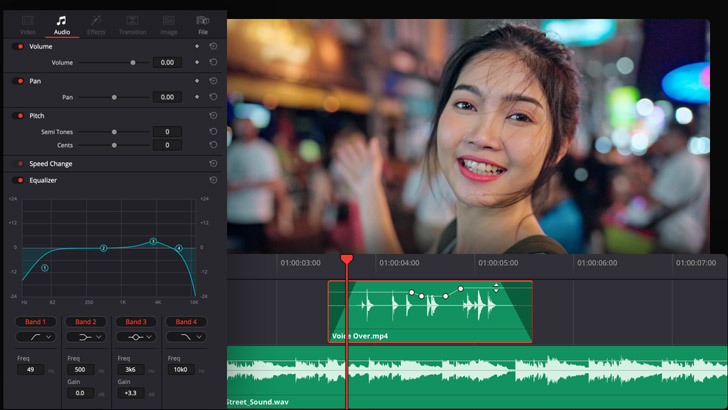
DaVinci Resolve’s post-production sound tool pack. It’s like having a digital audio workstation (DAW) integrated into the editing and colourizing system. Common keyboard-based editing tools let you work faster.
The new Fairlight Audio Core lets you work with up to 2,000 tracks at the same time with effects processing, EQ and real-time dynamics.
Media and delivery
The page is ideal for before and after the job is finished. It serves to import, manage and deliver final projects. The Media page provides a full-screen desktop for greater concentration on image preparation, clip synchronization, file footage organization, and adding metadata before you start editing.
The quick export tool lets you upload files to YouTube, Vimeo, and Twitter from anywhere in the software, but the delivery page gives you full control over encoding options and formats, plus a rendering queue to export multiple jobs.
Free and paid
There are two versions of the system, DaVinci Resolve which is free and DaVinci Resolve Studio, which is the paid version of the software. Both versions typically cater to novice or “home” users, the difference for Studio is some additional functions.
Studio Includes everything from the free version, plus DaVinci Neural Engine,3D stereoscopy tools, dozens of additional Resolve FX filters and Fairlight FX audio plug-ins, plus advanced HDR gradation and HDR scopes.
DaVinci Resolve is the fusion of all the necessary tools for good post-production for audiovisual works. If the needs are met only with the free version, just download and enjoy.
Where to download Davinci Resolve?
Surely with what you have read so far about Davinci Resolve you want to download it right now.
Davinci Resolve Lite (free version)
- It is free and you can download it from the official website.
- You can implement it in different projects because it allows you limited editing functions.
- Compatible up to 4K UHD.
- It allows you to download the file without watermarks.
Davinci Resolve Studio
- It is obtained for 995 USD with accessories included.
- You can get it for free if you buy Blackmagic cameras.
- The update is free in future versions, acquiring the new features of Davinci Resolve.
- It has unique tools from the Blackmagic brand, which allow you to obtain a Hollywood-level result.
Now that you know the two versions that you can access, we invite you to consider which of the two suits your needs. However, if you want to know about alternatives to Davinci Resolve and the prices of other platforms for video editing so that you can make an appropriate decision.
How to use DaVinci Resolve to edit like a Pro
Step 1. Project Manager
It is a differential feature of Davinci Resolve compared to other video editing applications and it is the space where you will find all your projects. It is from the project manager that you can:
- Rename a project.
- Open a video.
- Delete a video clip.
- Export the file.
In this sense, to create a project we click on unnamed project and this will take us directly to the Davinci Resolve editor interface.
Step 2. Get familiar with the interface
Now, it is relevant that you know where everything is located in the Davinci Resolve home so that you find comfort while using it. What you should identify in a first encounter with Davinci Resolve free version is:
Modules
They are located at the top of the interface and are responsible for:
- Media management where the files to be synchronized are imported.
- Assembly that integrates editing tools that allow you to speed up the editing process.
- Edition in which the image is improved.
- Fusion in which effects can be created.
- Colour where colour correction and grading are performed.
- Audio editing that is similar to Adobe Audition, but more powerful.
- Delivery that allows export with different rendering conditions.
Footage management
Located on the top left of Davinci Resolve, you’ll find effect libraries, material management, and other editing options.
Inspector
It is at the top right of Davinci Resolve and is widely used by people who have experience using Adobe. Allows control of the effects that are added to the clip.
Preview Monitor
The image of the video clip that we are editing in Davinci Resolve is previewed and at the bottom of the center of the screen is the timeline.
This interface differentiates it from other editing applications, including KineMaster and FilmoraGo, which are recommended alternatives for editing your projects.
Step 3. Materials management
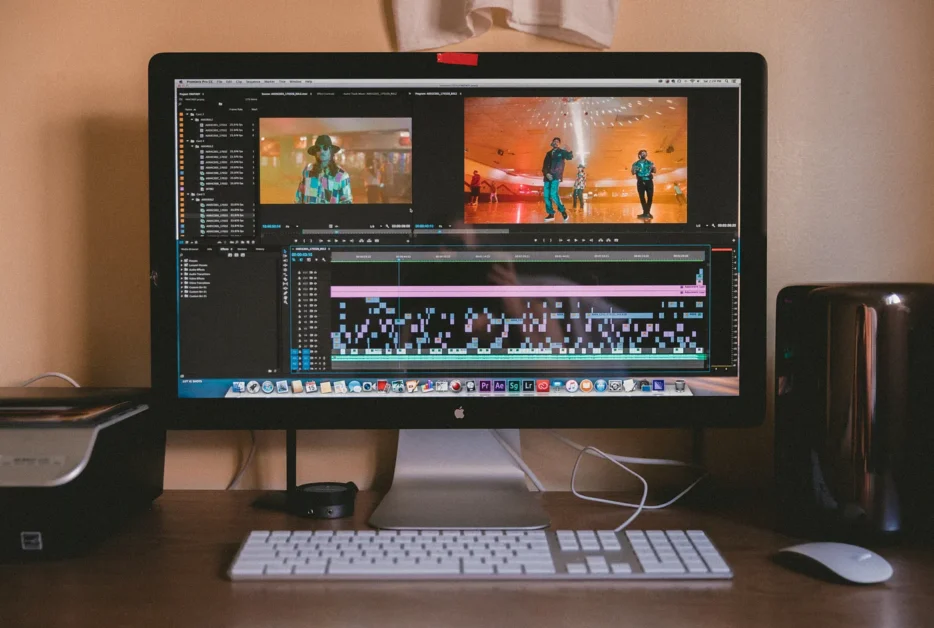
In this step, it is important to have the documents organized in folders and export them to Davinci Resolve to be able to work on the audiovisual projects that are going to be edited. A golden tip: you must import everything in the area where it says “Main” so that the files are located in folders. This is practically a requirement of Davinci Resolve.
Once you have all the materials located in “Main” you can click on the editing module to create a sequence (which is our next step). But, if you want to know how to edit a video for YouTube? Crehana’s advice will surely help you make your content viral.
Step 4. Create a sequence
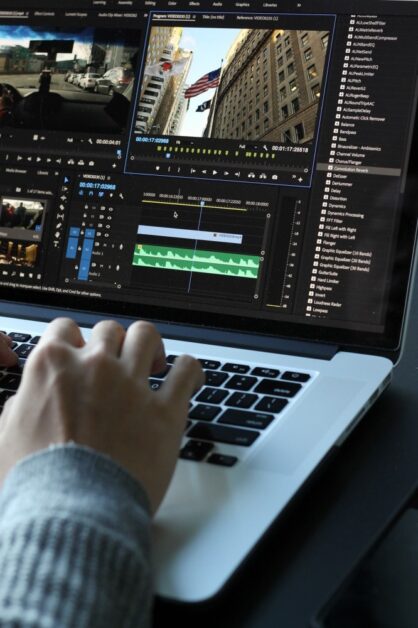
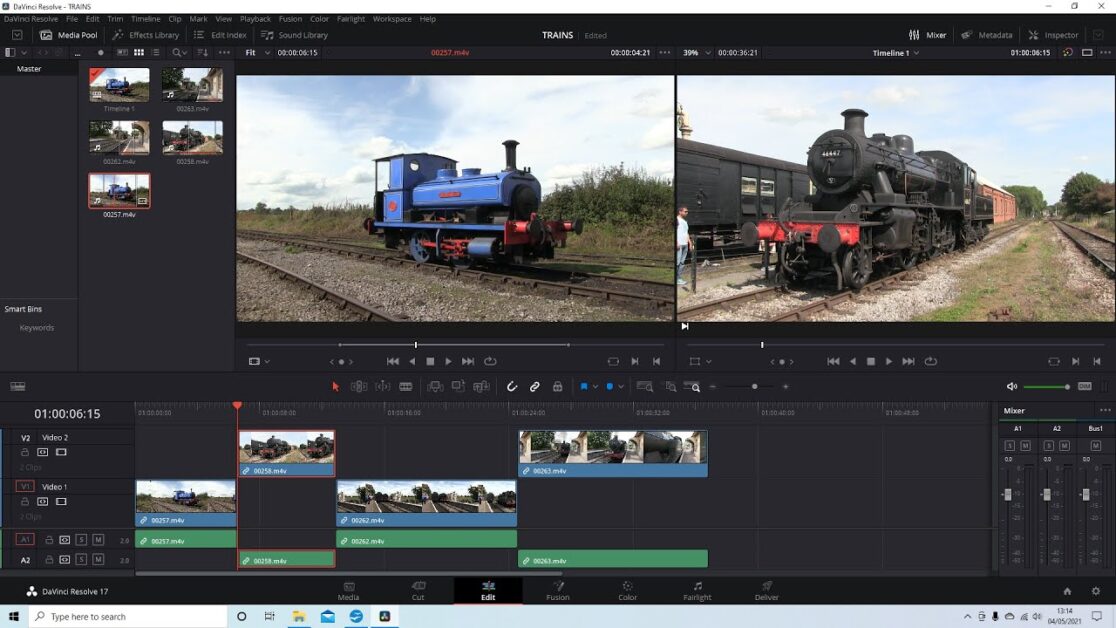
In Davinci Resolve, as in other applications, the sequence refers to the timeline, from the beginning to the end of the video or project. To achieve this you can:
- Manually, go to the file and click on “create timeline” (Ctrl+N).
- Display in the editing module the footage that we are using and that appears in the multimedia panel.
Then, you can drag the parts or videos that we want to place on the timeline into the Davinci Resolve program.
Step 5. Crop
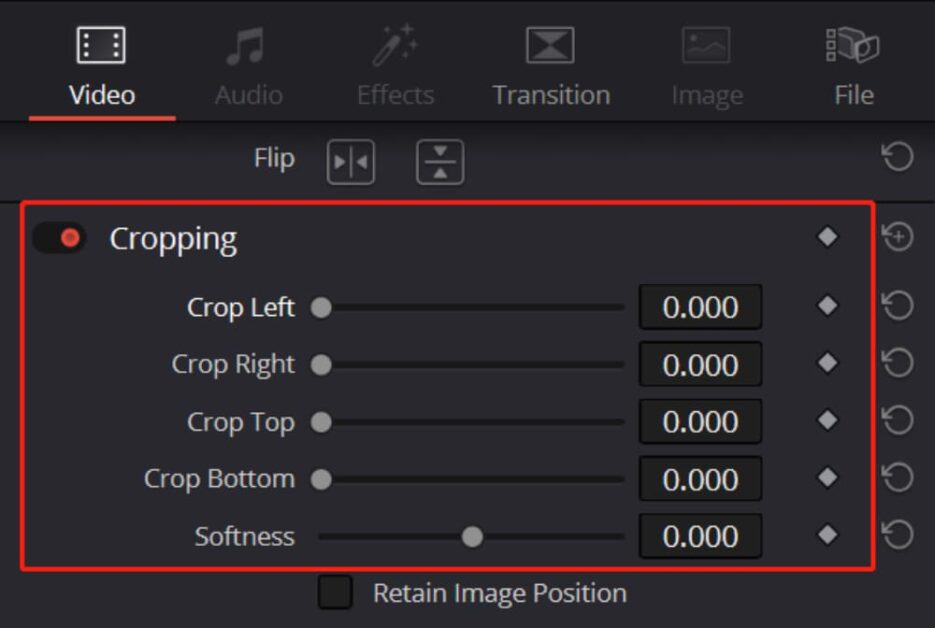
It is one of the most important tools in Davinci Resolve because it is the one that allows you to trim the video whenever you need it. The most important buttons in this step are:
- Choose).
- Trim (T).
- Dynamic Crop (W).
- Cut (B).
These buttons allow you to delete parts of your video and get the desired video in Davinci Resolve. We suggest you access the keyboard customization directly in the application to adapt the commands.
Step 6. Titles
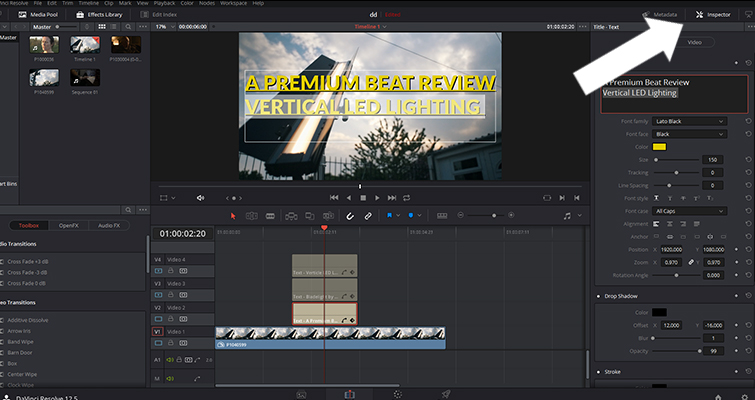
It is a very simple step, but extremely necessary in Davinci Resolve. What we must do is:
- Go to the effects library tab.
- Click on the title and drag it to the video clip.
- We click on the “inspector” button and we can edit the title or font once you download Davinci Resolve or any version.
Once we add the title, we can add Energy elements to our video to glimpse your videos, especially for expert editors in Adobe Premier and After Effects, impacting your audience with aesthetic videos.
Step 7. Audio
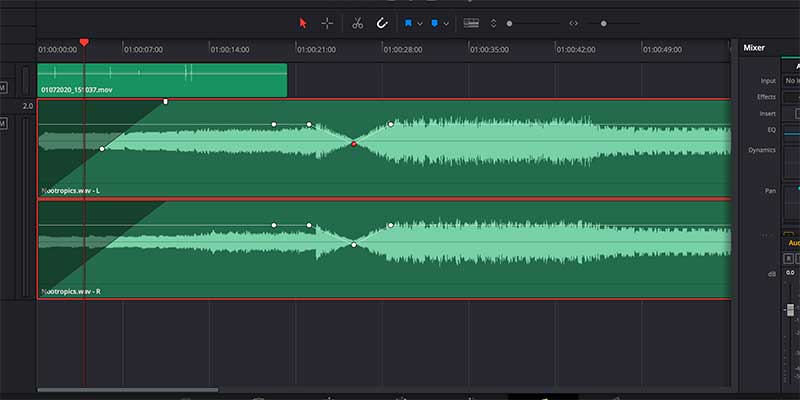
The image and audio are located in the Davinci Resolve timeline or sequence. So, at the top of this timeline you can add the videos and at the bottom add:
- Audios.
- Voice.
- Sound effects.
- Music
Step 8. Text fusion
It is a step that takes place in the timeline but requires clicking on the fusion module in the Davinci Resolve interface. This is possible through the text nodes and in the inspector to locate the text that will appear in our video. Our suggestions are:
- Connect the nodes to each other, but not to the output node so that it appears briefly during your project and not until the end.
- Drag the nodes onto the Davinci Resolve Studio monitors and preview the image.
- Once you obtain the desired result, link the nodes with the final node.
Step 9. Grading
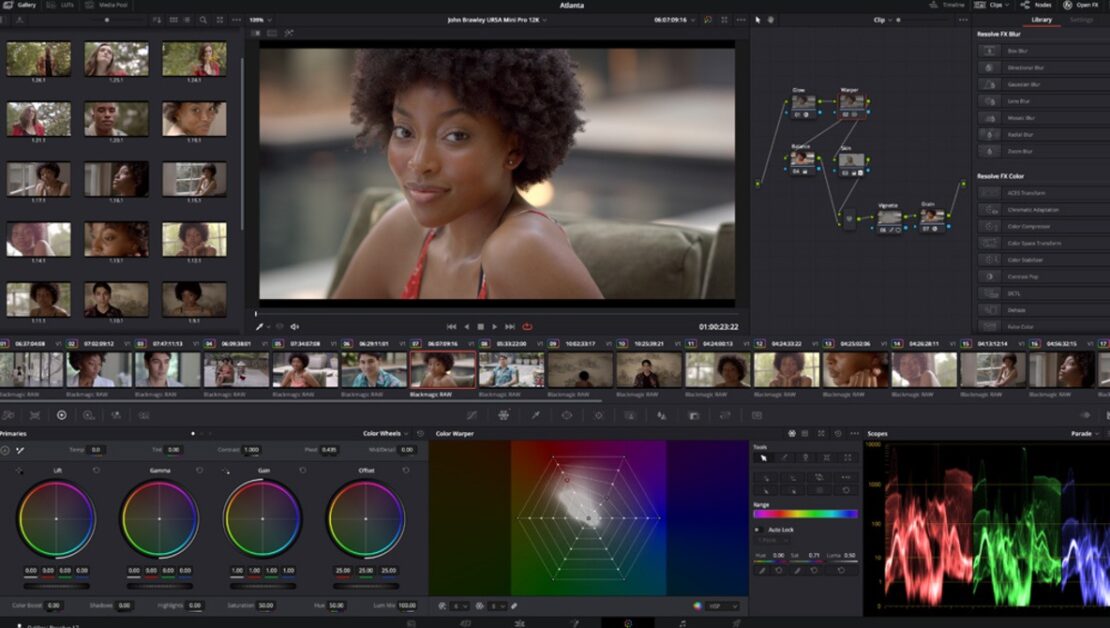
It is the step that allows us to correct the colour in Davinci Resolve and best of all, you can do it in the colour module and work directly on your videos without having to change applications.
In addition, it allows you to collect video files by groups and be able to edit your video effectively. This is possible due to the nodes and the option of graphical representations to identify the contrast of the image and the balance of the blacks. In order to achieve greater speed in the rendering process, we recommend PCs for 4k video editing
Step 10. Delivery
It is the final step of Davinci Resolve and deals with the export process. The great advantage is that it allows you to edit it for YouTube and Vimeo, downloading your file with all the requirements and quality to upload in your content. We hope this basic Davinci Resolve tutorial will be of great help to you.
Now that you know the 10 basic steps of Davinci Resolve, we hope that this creative tool will become your ally to deliver projects of the quality of Hollywood professionals.


