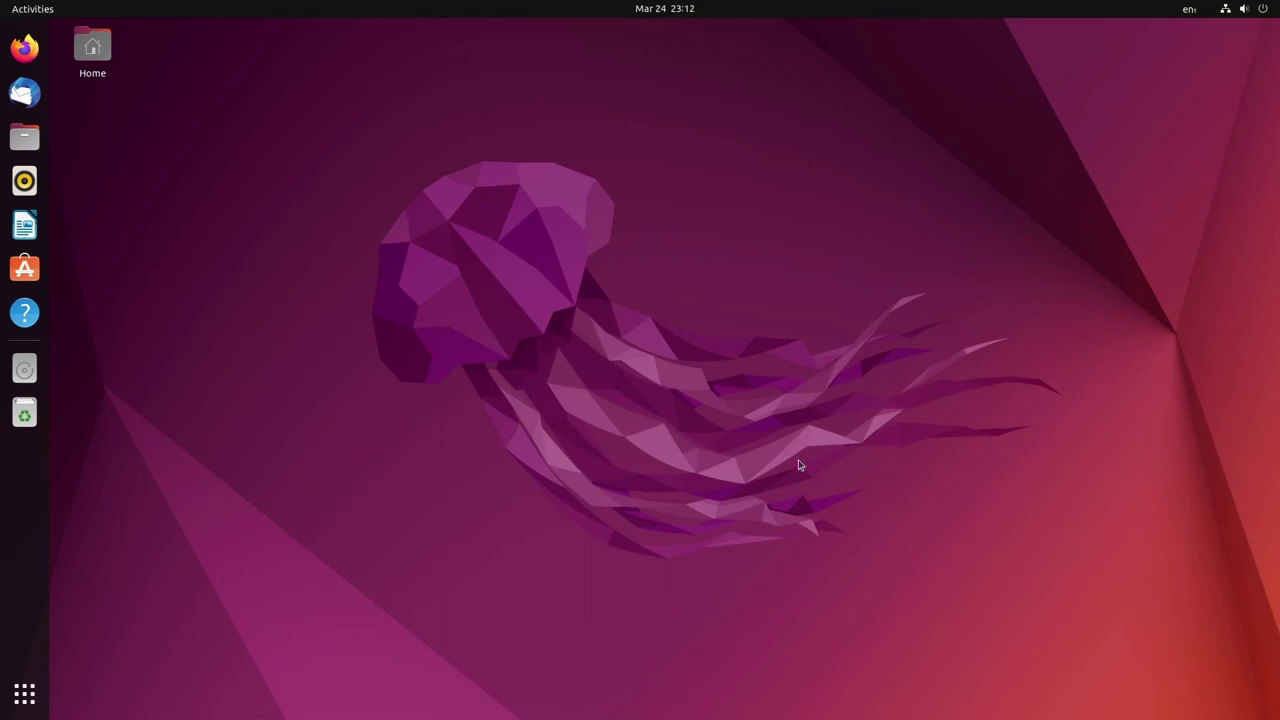
Ubuntu is one of the most famous Linux distributions. All this success has its reasons: the system is very easy to use and pleases even beginners in the world of free software. In addition, it is a good option for those who have a learning machine with performance problems, as it is lighter than its competitors. See how to install Ubuntu without mysteries in this tutorial.
Requirements to Install Ubuntu
Before starting to install Ubuntu, you need to know if you have:
- 25 GB of free storage space for system installation;
- 4 GB of RAM memory;
- At least 2 GHz dual-core processor;
- One USB port;
- A flash drive of at least 8 GB (if you have 12 or more it is better).
How to Install Ubuntu (Linux)
If all the above requirements are right, you can now proceed to configuring the Ubuntu image and installing the operating system :
1. Download Ubuntu
The image file is available on the system’s official website. If you are a novice user or if you just want a system that works without major problems, it is best to download the LTS (long-term support) version. It has less frequent updates, but is more stable and has longer support.
2. Create a bootable disk
The Ubuntu disk image is a .iso file, and unfortunately, you can’t just run it on your computer. You need to create a bootable disk, and the easiest way to do this is with a USB drive.
The system’s official website recommends using balenaEtcher to create this disk. The program is compatible with Linux, Windows and Mac.
After installing the software, choose the image, select the flash drive and click the “Flash!” button.
3. Restart to boot
Now it’s time to run the bootable disk. Restart the computer with the USB drive plugged in. The system should recognize and use that disk at boot time. If it doesn’t, you’ll need to go into the settings to choose the option to boot the USB stick. Try pressing and holding F12 during boot to access the menu and prioritize the USB. Your computer, however, may have a different path to these adjustments.
4. Start Ubuntu installation
If all goes well, you will see an Ubuntu welcome screen. You can test the system a bit directly from the USB drive or install it directly on the machine’s disk. Let’s go with the second option.
5. Choose the language and configure the keyboard
When you click Install, a wizard will appear. First, you will need to configure the system language and make a quick process for the software to recognize your keyboard.
6. Configure your installation
Then, you have to choose whether you want a complete installation, with all the programs on the system, or a minimal one, just with basic utilities and a browser, and then you can install whatever you prefer.
You also need to say if you want to download updates during installation to save time and if you prefer to include third-party software for graphics, Wi-Fi and some media formats. This option is interesting for those who have a dedicated video card.
7. Choose disk or partition
Now, it’s time to choose which disk of your computer you want to install on. The default option is to delete everything and install the system. Attention: if you have Windows, macOS or another Linux installed, it will be deleted if you choose the default path.
The alternative is to create or modify the partitions. This is a process that deserves care because you can also lose data already saved.
In this tutorial, we are going with the first option, which is simpler. The second can be useful for those who want to keep two operating systems installed on their computers, such as dual-booting Windows and Linux.
8. Encrypt (or not) your disk
In the next step, you can choose to encrypt the data saved on the disk. If you choose this path, create a security key and a recovery key.
9. Set your watch
We’re almost done, but some details are still missing. Choose the place where you live to adjust the time zone. This process is usually automatic — the system automatically detects your location if you are connected to the internet — but adjustments may be necessary.
10. Configure access
Now it’s time to put your name, the computer name, choose a username and put a password on the system.
11. Wait for the completion
Ready! Just wait for the installation to complete.
After the installation is complete, you will be taken to the Ubuntu splash screen and the system will be ready to use.

