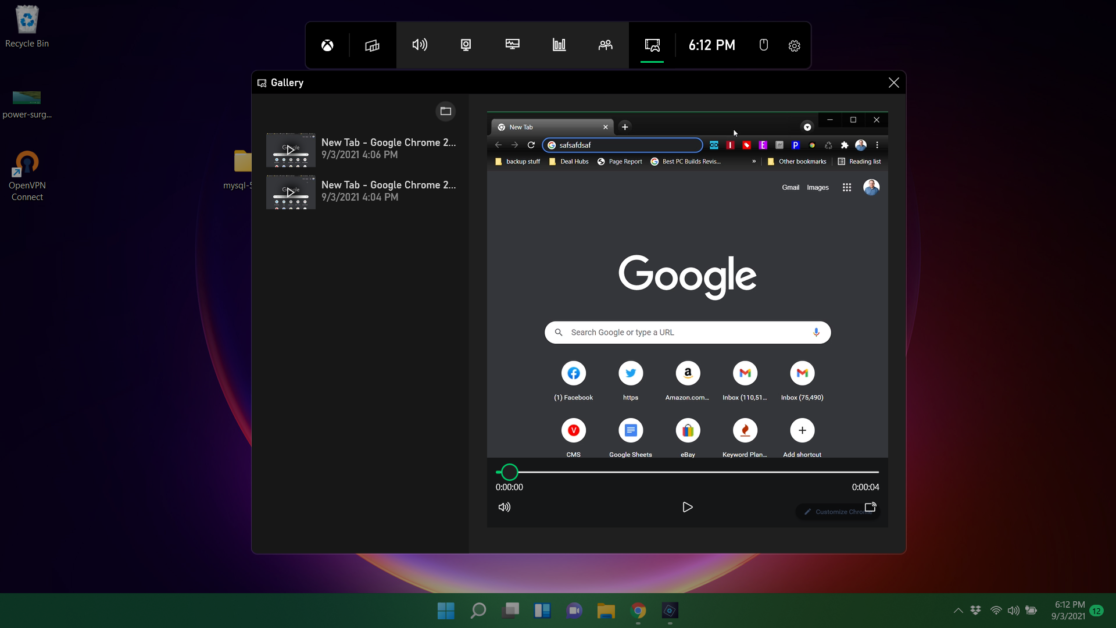
Xbox Gamer Bar is one of Windows 11‘s native features. This tool offers several interesting functions, including the possibility to record the PC screen without having to install any other program. The process to start a recording is very simple and fast. Below, I will show you how to do this.
It is important to note that the Xbox Gamer Bar capture feature has two limitations: it does not work in File Explorer or on the system desktop — it is only possible to record the screen of games, browsers or installed programs — and the recording to a single file is limited to “only” 4 hours.
In addition, the Microsoft tool also does not have an area selector as we see in other programs of the genre. Therefore, you cannot record a part of the screen, only the entire screen.
That said, follow the instructions below to learn how to record a PC screen in Windows 11:

- Open the Xbox Gamer Bar by pressing the Windows + G keys. Then click on the camera icon at the top of the screen;
- Click on the “ball” in the upper left corner to start recording the screen or press Windows + Alt + R;
- When you want to stop, click the stop icon in the upper right corner to stop recording and save the file to computer storage;
- Press Windows + G keys to open Xbox Gamer Bar and preview the video. If everything is ok, click on “Open file location” to find it in Explorer or, if you prefer, click on “Delete” to delete it.
It is worth mentioning that it is not necessary to open the tool to view the recordings. As all files generated by Xbox Gamer Bar are automatically saved, they are available in “C:UsersUSERNAMEVideosCaptures”.

