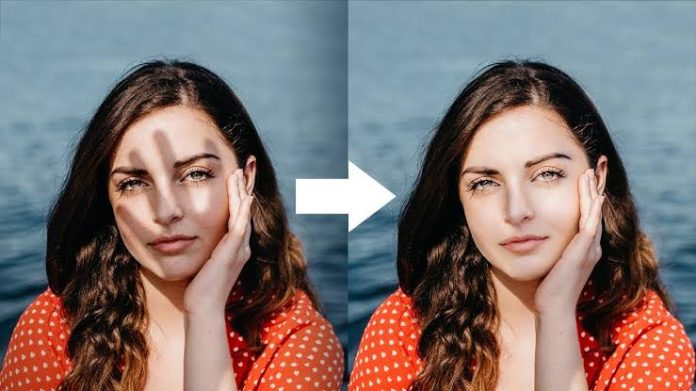
We are going to see how to remove the shadow from an image or photo with Photoshop CC in a fairly simple way in the following tutorial in which, step by step, we are going to teach you everything you need to know.
Photoshop is one of the best known and above all useful tools around the world. We cannot deny the enormous potential it has thanks to all the options it has to edit any kind of image.
From making a person younger or older, changing colors and style of any kind of image, we could go on and on. The options are truly limitless and someone who knows how to use the program and has a bit of imagination can do what they want.
Today we are going to see how to remove a shadow from any kind of image or photograph that you have with this powerful program. As you will be able to appreciate, this tutorial is too simple and in a matter of a few minutes you will be able to remove any kind of shadow that you do not like in a photograph on Photoshop.
It is a fairly simple tutorial that, if you follow it step by step, you will quickly get the results you are looking for. Without much more to add, we are going to see this Photoshop guide so that you can learn how to remove any kind of shadow and even object that is in your image.
How to Remove Shadows from an Image in Photoshop
- The first thing you will have to do is open Photoshop CC and then the image from File> Open. We recommend that you do not use GIF images for this process. In this case, convert the GIF image to JPG.
- Now you will have to use the lasso tool. Select all the shadow that you want to remove, in case you have several shadows you will have to repeat the steps that we have discussed previously.
- Try to select a little more of the shadow area in question. After this you will have to copy and paste in a new layer. To create a new layer you will have to use the editing options in the toolbar in the upper area.
- Now in that layer you can paste the selection of the shadow from the previous layer. You will have to go to Image> Adjustments> Brightness / Contrast.
How to Remove Shadows from any photo in Photoshop
Here you will have to adjust the brightness and contrast levels just to match the background. In case you cannot adjust the brightness and contrast well, then you will have to go to Image> Adjustments> Color balance and from here try to obtain better results.
In case you still can’t get good results. What you can do is go to Image> Adjustments> Hue / Saturation and in this way try to adjust these options to obtain the desired results.
Basically the idea is to create a new layer that is on top of the layer where the shadow is and try to cover it that way. This way is the best, since in case you ever want to see the shadow in question again, you just have to hide the layer you created and that’s it.
We hope that this tutorial to learn how to remove the shadow from an image or photo with Photoshop CC in a very simple way will help you meet your objective.
Even though many specialists in photography and other industries enjoy Photoshop, some amateurs and beginners might find it too complicated and time-demanding to master. If you don’t want to deal with the layers system and the confusing drop-down menus, check out 3 more ways to remove shadows from photos. You will find online and offline options for PCs and mobile devices. All the editors in the tutorial are automatic, and you will have no difficulty figuring them out.
Remember that if you still have any kind of doubt about this topic, you can always leave it in the comment box which you can find a little further down and we will be happy to help you in everything that is necessary.
