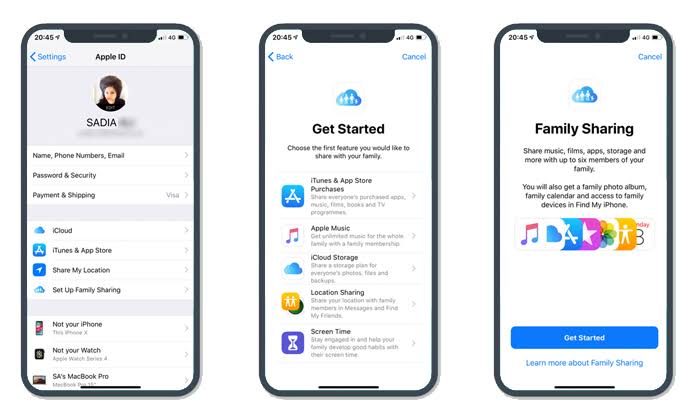
Placing different Apple ID accounts on the same iPhone or iPad is an alternative for those who have a personal and one-use account for work. You can use multiple Apple IDs on the same device to gain access to services such as email, contacts, and notes, for example. Another option is, in fact, to sign out an Apple ID and log in to another account. See the step-by-step of the two possibilities.
- How to check apps that access your location on iOS
- How to change your Apple ID password
- What to do when Face ID isn’t working on iPhone or iPad
How to add a different Apple ID to your iPhone
- Tap “Settings”;
- Scroll down and select one of the following options: Mail, Contacts, Calendar, Notes, or Reminders;
- Tap “Accounts” and then “Add Account”;
- Select “iCloud”;
- Enter your Apple ID email, then tap “Next”;
- Enter your password and then tap “Next”;
- After verifying your info, select the services you want to activate.

When using multiple accounts on the same phone, adding one more layer of security becomes even more important. For this reason, we recommend that you enable Apple ID two-step verification.
How to sign out of your current Apple ID
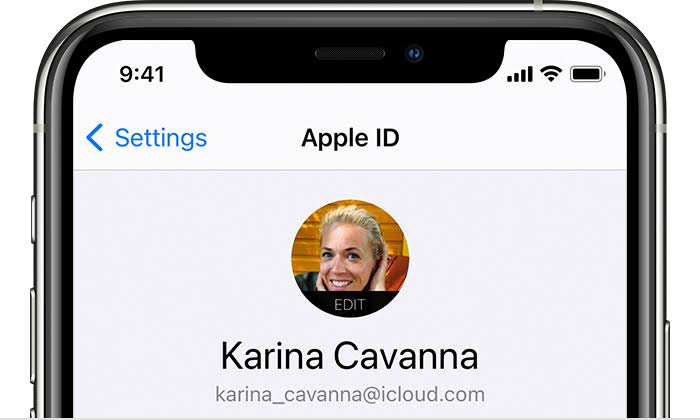
- Tap “Settings” and then your Apple ID;
- At the end of the screen, tap “Sign out”;
- Also, end your iCloud session. This step is important for those who use one account to access it and another account to gain access to iTunes and the App Store;
- Enter the password associated with your Apple ID and confirm to end the session.
Note: In some cases, before you log out, it’s worth enabling the option to keep a copy of your saved data on your phone. When you exchange accounts, the data on your phone can be combined with data from your new Apple ID.
Sign in with another Apple ID
- Tap “Settings” and then “Sign in to iPhone”;
- Enter the email associated with your new Apple ID and then the password;
- Tap “Merge” if you want to merge your iPhone data with the iCloud account associated with the new Apple ID;
- Tap “Don’t merge” if you don’t want locally saved content uploaded to your new Apple ID’s iCloud account.
