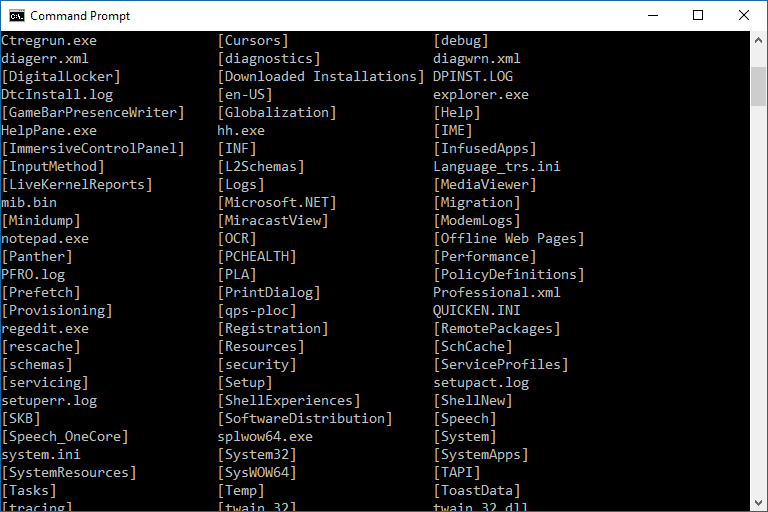
In addition to performing tasks, the command prompt in Windows 10 can also be used to uninstall programs. The Microsoft tool is able to “force” an uninstall when the wizard does not work or makes it difficult to remove installed software. Below, I will show you how to delete unwanted programs in a few minutes to free up PC storage space.
How to Uninstall Programs using Command Prompt in Windows 10
The function that allows you to uninstall programs via command prompt was inserted in a relatively old Windows update, so your PC is very likely to be compatible. If this is not the case, I recommend that you update it to the latest version by going to “Settings > Windows Update > Check for updates”.
Contrary to what it seems, the uninstall process is very simple and does not use many command lines. Follow the instructions below to find out how to do it:
- Click the search bar in the lower left corner, type “command prompt” and then click the tool icon or “Open”;
- Type the command “winget list” (without quotes) and press the “Enter” key to display all the software installed on the PC — this process may take a few seconds;
- Once you find the program you want to remove, type the command “winget uninstall PROGRAMNAME” (without quotes) and press the “Enter” key to start the uninstallation — the name entered should be the same as shown in the list.
If all goes well, once the program is removed from the PC, the tool will display the message “Uninstalled successfully”. Depending on the software you choose, the uninstallation happens automatically or you will need to click a few steps in the pop-up window to complete the process.
Okay, now you know how to uninstall programs via command prompt in Windows 10. It is worth mentioning that CMD can also delete native software, but in these cases, I recommend that you be very careful not to delete one that is important for the system to function, like audio drivers, for example.
